This blog entry explains some ways that you can customize the look and feel of your mobile app using RoboHelp (2015 release). This blog post focuses on creating a mobile app that runs on Android devices.
Displaying or Hiding your Table of Contents, Index, Glossary, or Filters
In RoboHelp (2015 release), you can create a table of contents and index if you feel it makes it easier for users to navigate your help system. In my experience, creating an index for a client is increasingly rare, as users appear to rely more and more on search to find the answers they need. You may also want to include a Glossary if your mobile app contains many terms that need to be explained.
Filters permit users to select the type of content that appears in an online help system. For example, let’s say I have two audiences for an online help project: system administrators and end users. The readers can control the type of content that displays in the help by clicking the Filter button and selecting the check boxes for the different audiences. System administrators, for instance, can select the filter so that they only see the content that pertains to them. For more information about the filter feature, see RoboHelp 2015 provides users with more control.
To hide or display a table of contents, index, glossary, or filters:
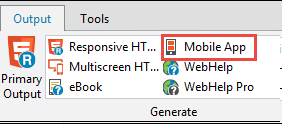
- In the Output menu, click Mobile App.
- In the Mobile App Settings dialog box, select General.
- Click Customize Selected Layout.
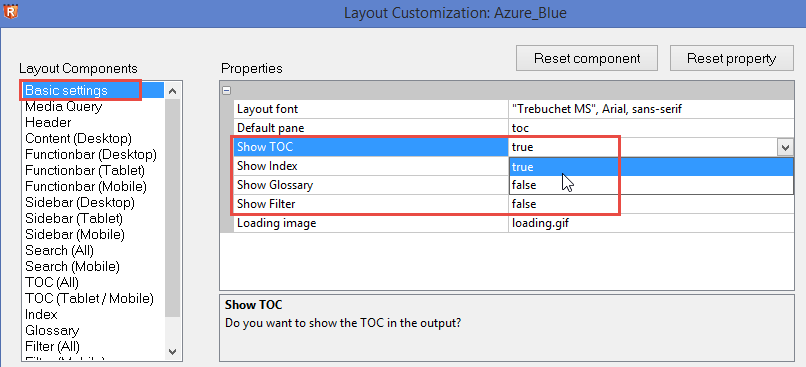
- In the Layout Customization dialog box, select Basic settings in the Layout Components list.
- In the Properties list, select whether you want to show or hide your mobile app’s table of contents, index, glossary or filters:
a) For the table of contents, index, glossary, or filter, select true or false from the adjacent dropdown list.
- Click Save.
Adding a Logo
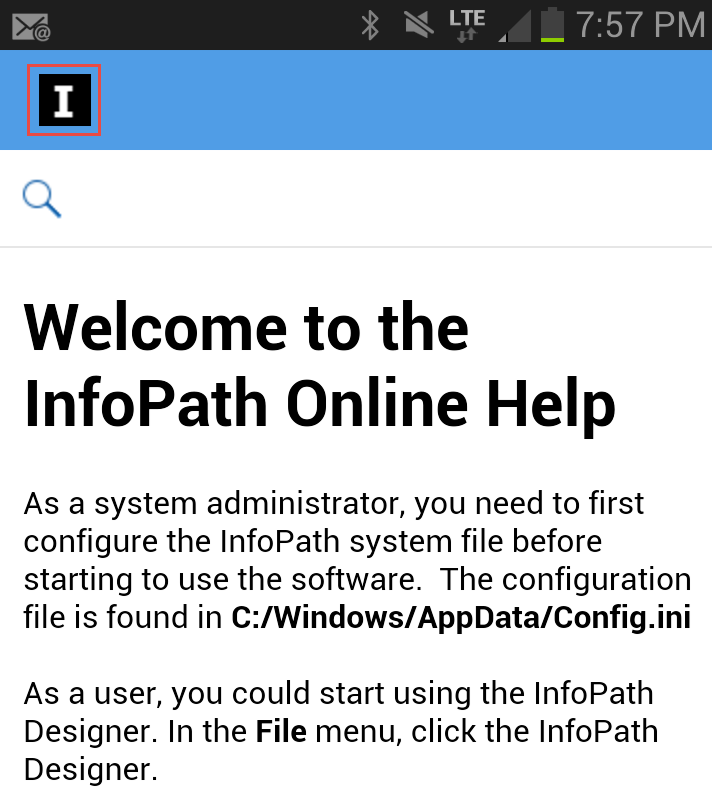
If you add a logo, it appears in the top-left corner of the mobile app. I created a simple help app for a fictitious product called InfoPath.
To add a logo to the mobile app:
- In the Output menu, click Mobile App.
- In the Mobile App Settings dialog box, select General.
- Click Customize Selected Layout.
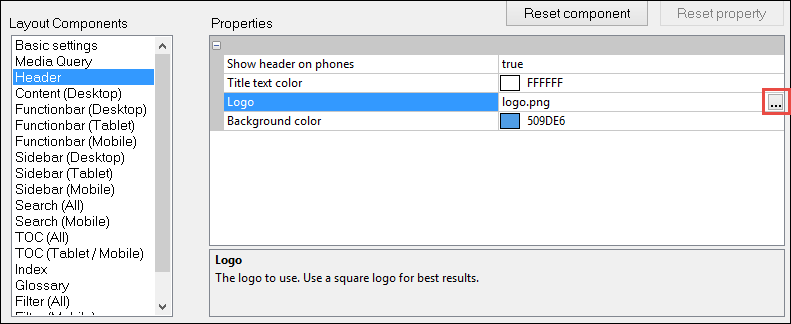
- In the Layout Customization dialog box, select Header in the Layout Components list.
- In the Properties list, click … beside Logo to select an image.
- In the Open dialog box, navigate to a PNG image that you want to use for the logo and click Open. It’s best to use a square shaped logo. I used an image that was 72 by 72 pixels.
- Click Save.
Adding a Mobile App Icon
A mobile app icon is the image that appears when the app is installed on an Android smartphone or tablet. The following image shows an example:
To add a mobile app icon:
- In the Output menu, click Mobile App.
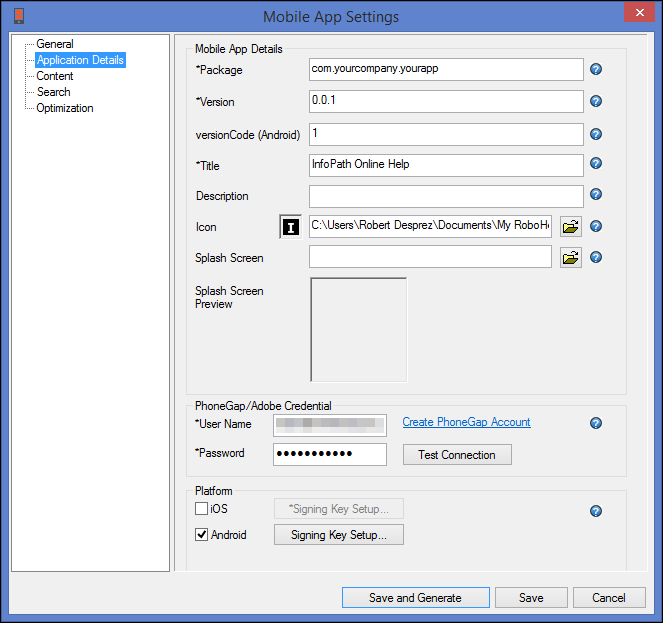
- In the Mobile App Settings dialog box, select Application Details.
- In the Icon field, click the browse icon and navigate to a PNG file. I used a 72 by 72 pixels file—the same image that I used for the logo. For more information about the recommended icon sizes, see GitHub’s web page.
- Click Save and Generate.
RoboHelp (2015 release) generates the mobile app.
- Click View Result in the Result: Mobile App output has been generated successfully dialog box.
Downloading the Mobile App
The next step explains how to get the mobile app loaded onto your Android tablet or smartphone.
To download the mobile app to your Android phone:
- In your phone’s or tablet’s browser, type the URL that appears in the Mobile App Output dialog box.
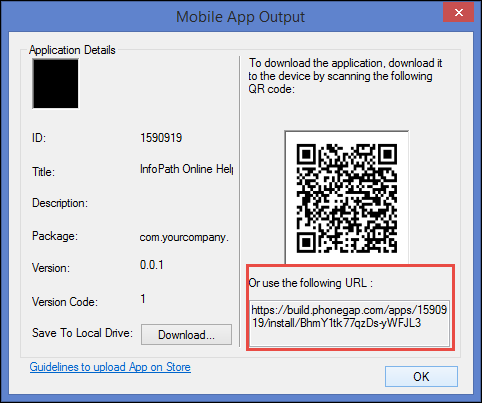
- Alternatively, you can download the mobile app using a QR Reader.
a) Download a QR reader to your Android phone. I downloaded the QR Code Reader from Google Play.
b) Using the QR reader, scan the QR code in the Mobile App Output dialog box.
The mobile app downloads to your tablet or smartphone.
Viewing the Mobile App
Once the mobile app has been downloaded and installed on your computer, tap the mobile app you created. I haven’t attempted to document downloading and installing the app, due to the different versions of Android.
 I have worked as a
Leave a Reply